
| Version 7 (modified by rubendibattista (Ruben Di Battista), 5 years ago) (diff) |
|---|
About Mame
Mame is an open source emulator built to recreate the hardware of old arcade games on your modern computer. The main focus is on documenting the old hardware and the heritage of old arcade games in order to avoid the will be forgotten. To get further informations on the project, you can check here the documentation.
Macports
On macports the availabe port to install MAME is mame. Generally we try to stay in track with the last release upstream.
Compiling MAME
The installation of the port requires you to compile it. That takes VERY long time, so when you install it take a hot tea, a bag of cookies and wait for it to finish.
sudo port install mame
Configuring MAME
Once the port successfully installed, what you're going to have is an executable called mame64. Now, to be able to run the ROMs, we need to build the right filesystem tree in a directory. What I generally do is to create a directory in the root of my home, called, very originally, mame.
mkdir ~/mame
Now if you go inside that directory
cd ~/mame
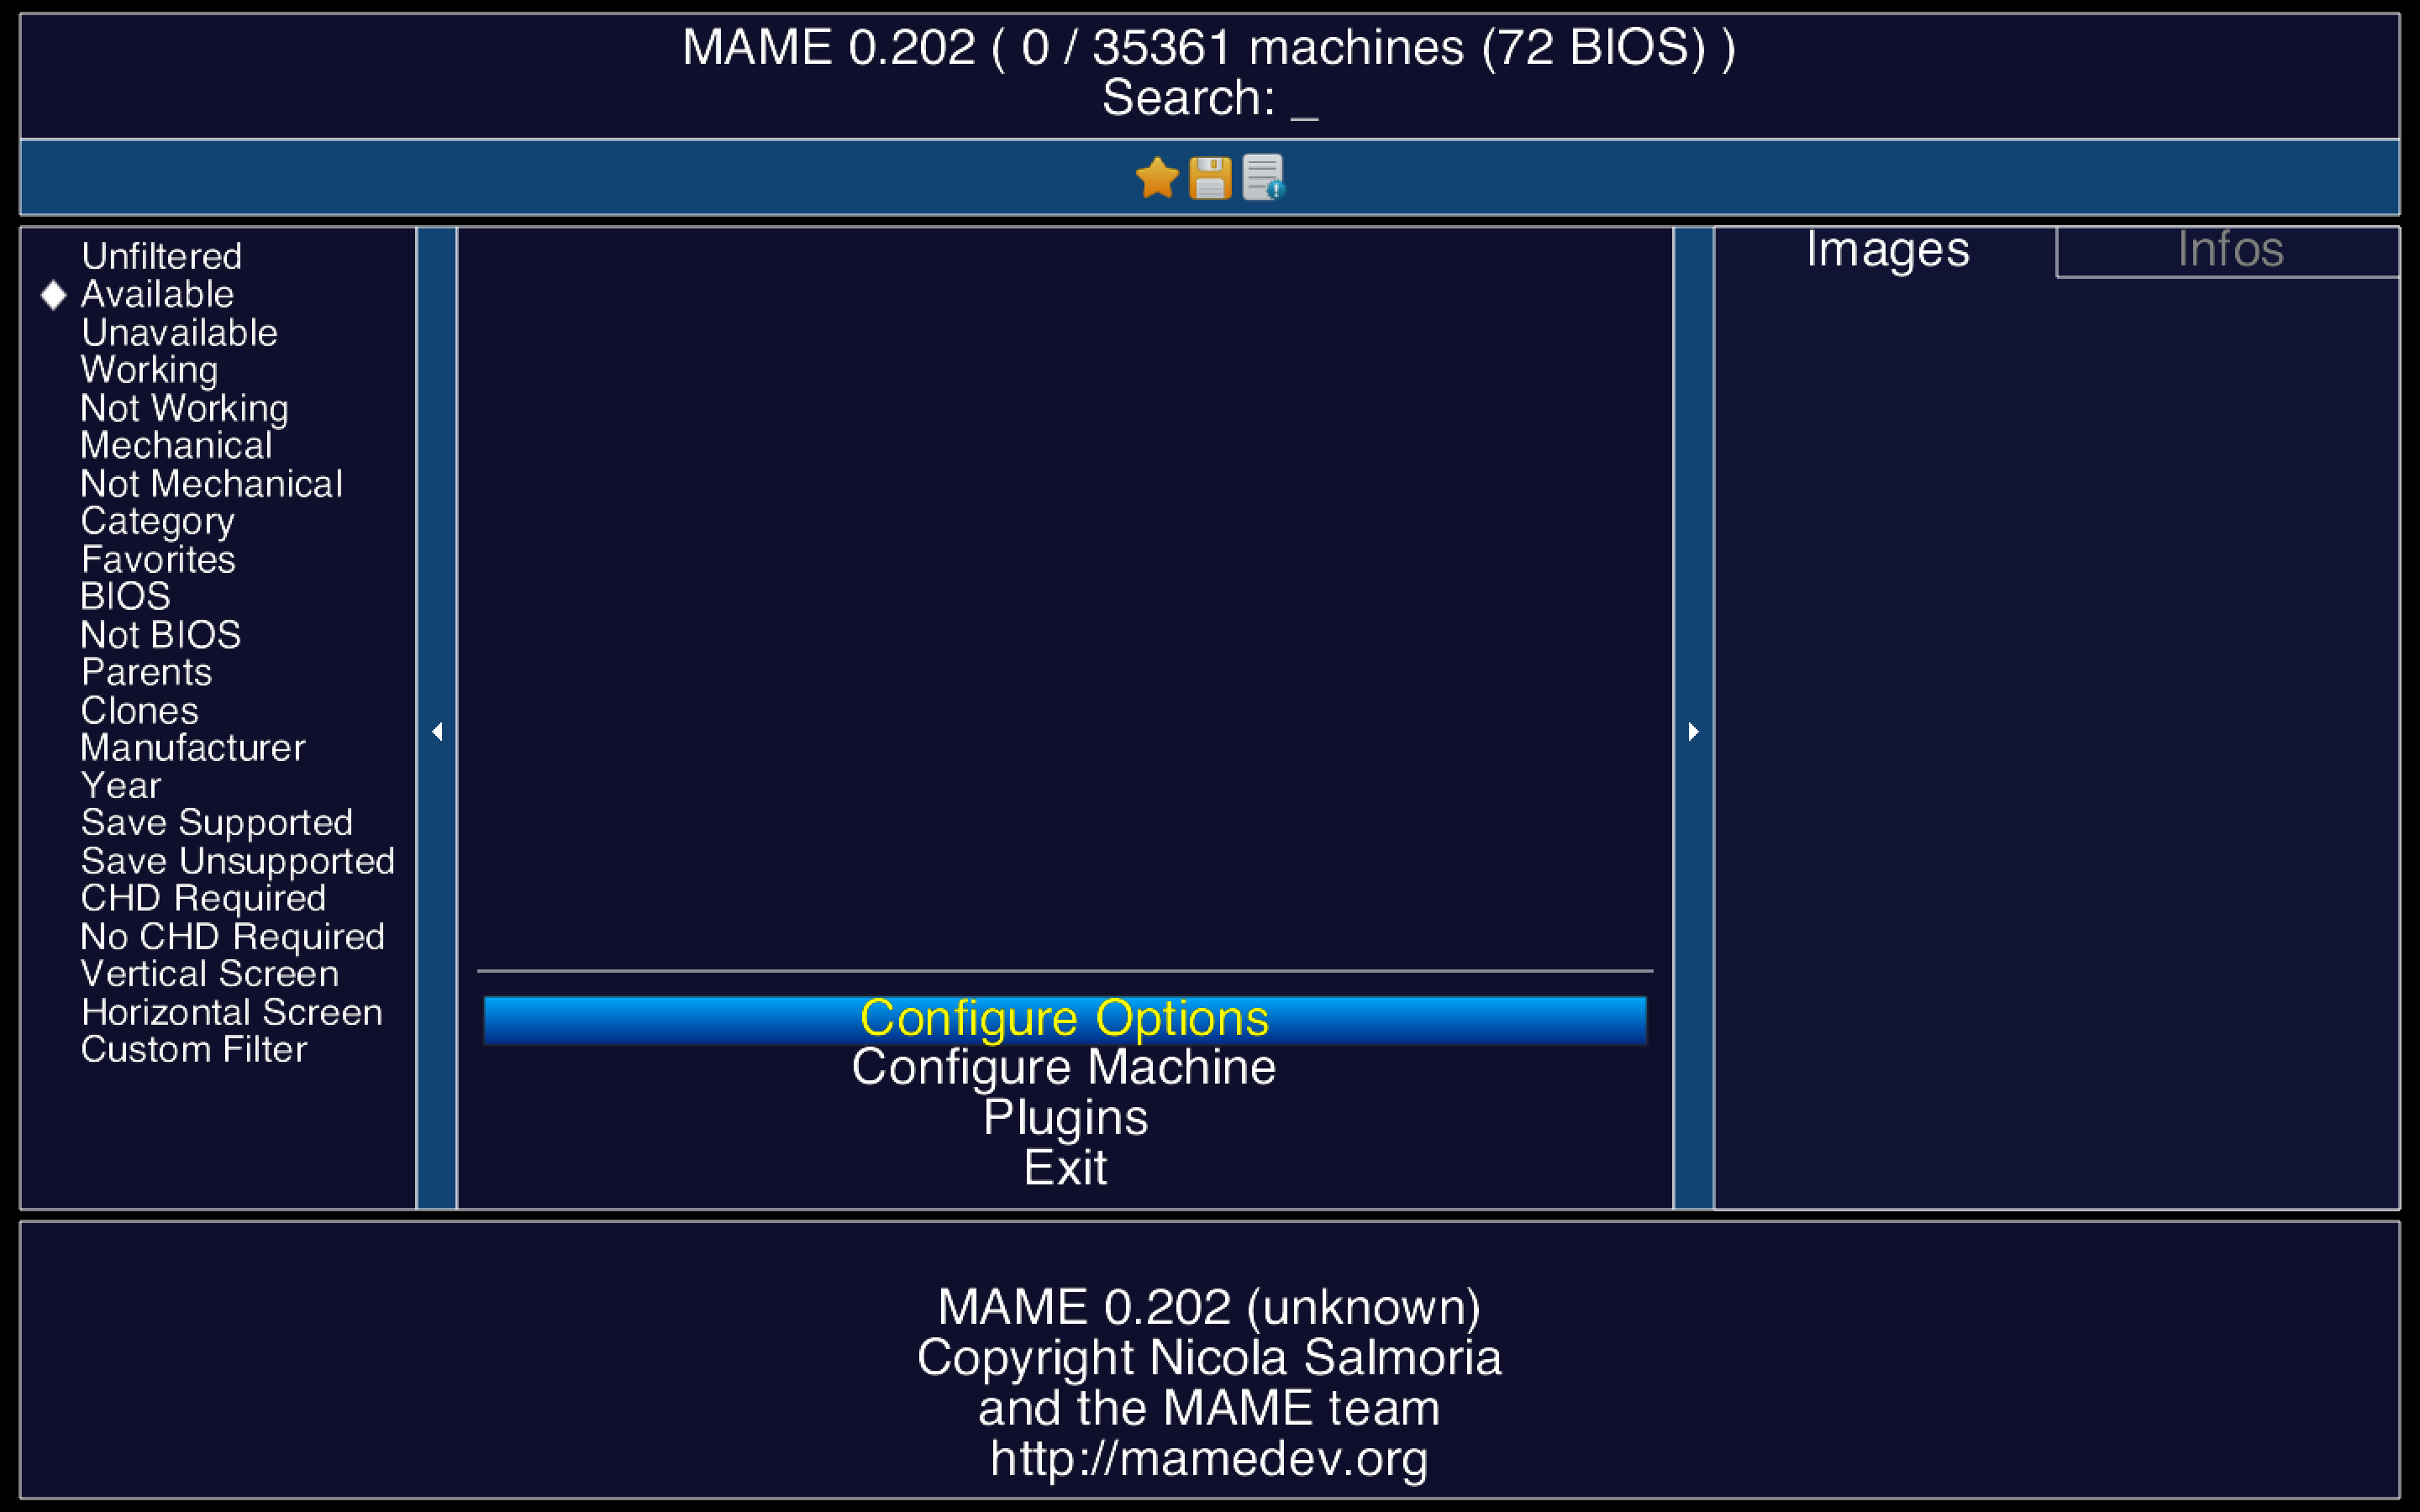
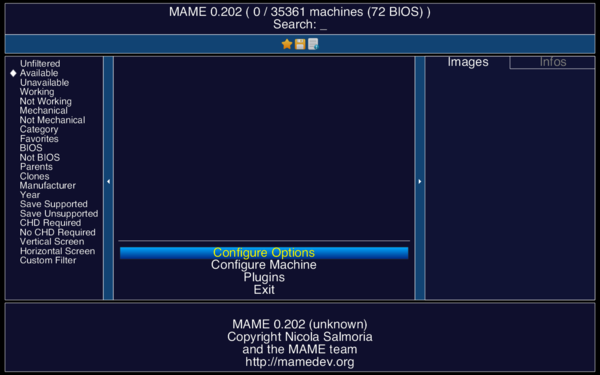
and you run the mame64 executable inside of it. MAME will run full screen and it will create a folder inside of ~/mame called cfg. That is the folder where MAME stores the configuration files. In the MAME initial dashboard you won't see much for the moment...

Let's try to put something to play with :). Generally, to play the most famous titles, you'll need a specific BIOS, i.e. a proprietary set of instructions that are specific of a certain hardware. For example, to run NeoGeo games, you'll need the last release of the NeoGeo BIOS whose file is called neogeo.zip. The problem with this kind of BIOSes is that in general they're under copyright and you're not allowed to run them. So to start, we'll try to use one of the ROMs offered on the official dev website of MAME. As you can see they're free for non-commercial use.
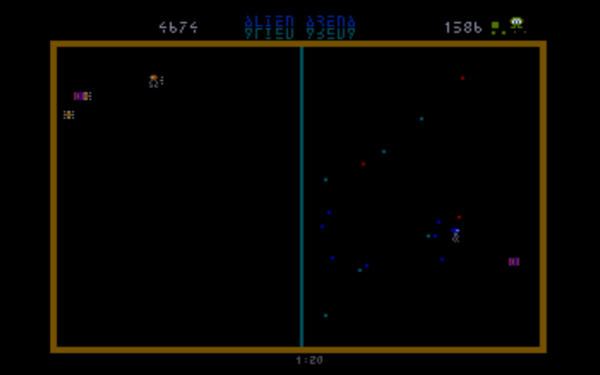
So... let's try Alien Arena, looks promising:
Alien Arena was developed by Duncan Brown in 1984 to run on the classic Williams hardware. It is a "capture the flag" style game with a number of interesting twists. It was even put on location, but, well, Duncan explains all this in his readme. Here's an excerpt of the history: By 1984, I had reverse-engineered the hardware used in Williams' games to the point where I had essentially created a "programmer's guide" for it. Destiny called, I had to write a new game from scratch for this great hardware! My original intent was to end up with a conversion kit that was more user-friendly than most (remember this was back when conversions were just starting to come into existence, long before JAMMA, and most of them were a complete mess to install). A new marquee, new side stickers, new control panel, and 12 EPROMs, and away you go! No messy wiring, board modifications, etc. My production costs would be low, my sale price could be high.
Well, that was the plan anyway...
Over the course of a year, I wrote "Alien Arena". It was written in 6809 assembly language using a cross-compiler on an Apple II+. Using custom-designed and handbuilt emulator hardware (*24* 2Kx8 static RAMs on a board connected to the Apple with a custom bus interface!) I could test out my code without the slowdown of programming and erasing a bunch of EPROMs all the time.
When I was done, I assembled it into an ex-Stargate cabinet, and put it out in the arcade I owned at the time. I made a few modifications (mostly to the computer-player AI) based on feedback from customers. I cannot say it was an immense hit. Most people thought it sucked, frankly. You decide for yourself. I know my wife and I had a blast playing it while I was designing it (probably added 6 months to the time to finish it, heh heh heh...).
Running a ROM
- First thing is to download the ROM of the game
alienar.zip. - Then let's create the folder that will store our roms
mkdir ~/mame/roms. - Let's move the Alien Arean roms inside this directory:
mv ~/Downloads/alienar.zip ~/mame/roms - Let's run
mame64within the~/mamedirectory.
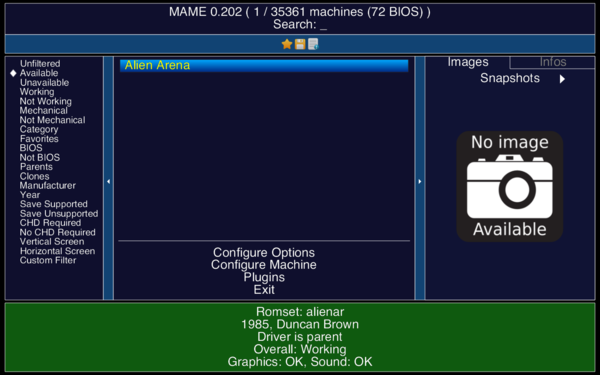
 As you can see we finally have the game. Let's try to run it pressing Enter!l

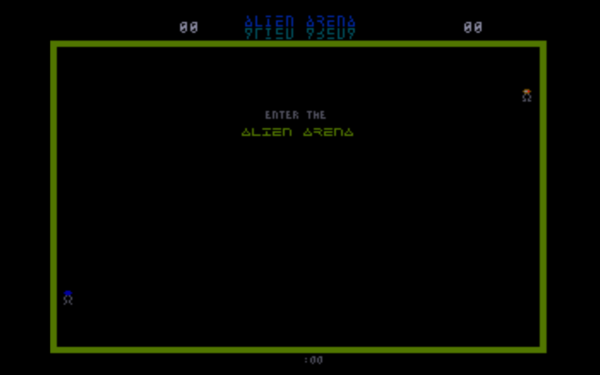
We are in the initial splash screen of the game. Cool! To actually start the game, you need to insert coins. In order to do that, you have to use the keyboard key (5) or (6) (the numbers) to add coins for the 1st or 2nd player respectively. Then you can use the keyboard arrows to move around, and the keys (control) and (option) correspond to the first two buttons of the arcade cabinet. You can find further information on the keys here.

Adding more material to a ROM
Ok, now we can play the game. But that's not everything. We clearly would like to have original artworks and a cool snapshots of the game such that we can see from the MAME dashboard which game are we navigating into. Where do we find them? There are several website, my favourite one is Progetto-Snaps. It was born to provide snapshots, but nowadays you can find whatever resource you want and you can download them in bulk.
We'll instead use my ugly screenshot just above. So you take that image, you rename it with the same name of the game ROM, in our case alienar.png, and you put it in the folder snap (create it before!) within our root folder mame.
mv alienar.png ~/mame/snap
And... tadah! You know have the snapshot in your MAME dashboard.
There's more to add, like the artworks (In the artwork folder). I'll let you explore a bit on that to configure your MAME installation as you wish! Here you can find more informations about all the directory tree and what you can add.
Attachments (5)
-
Schermata 2018-11-03 alle 13.04.54.png (316.1 KB) - added by rubendibattista (Ruben Di Battista) 5 years ago.
mame initial screenshot
-
mame-dash.png (70.9 KB) - added by rubendibattista (Ruben Di Battista) 5 years ago.
mame initial screenshot
-
mame-alien-arena.png (84.2 KB) - added by rubendibattista (Ruben Di Battista) 5 years ago.
mame screenshot with Alien Arena Game
-
mame-alien-start.png (15.4 KB) - added by rubendibattista (Ruben Di Battista) 5 years ago.
game splashscreen
-
mame-alien-play.png (17.2 KB) - added by rubendibattista (Ruben Di Battista) 5 years ago.
playing the game
Download all attachments as: .zip